How to measure a wall for a mural
Three measurements, one rule about which number to keep, and a short list of the places people go wrong. Ten minutes with a tape measure is what stands between you and a mural that fits.
How-to · The Wallbu team · Feb 11, 2026 · 6 min read
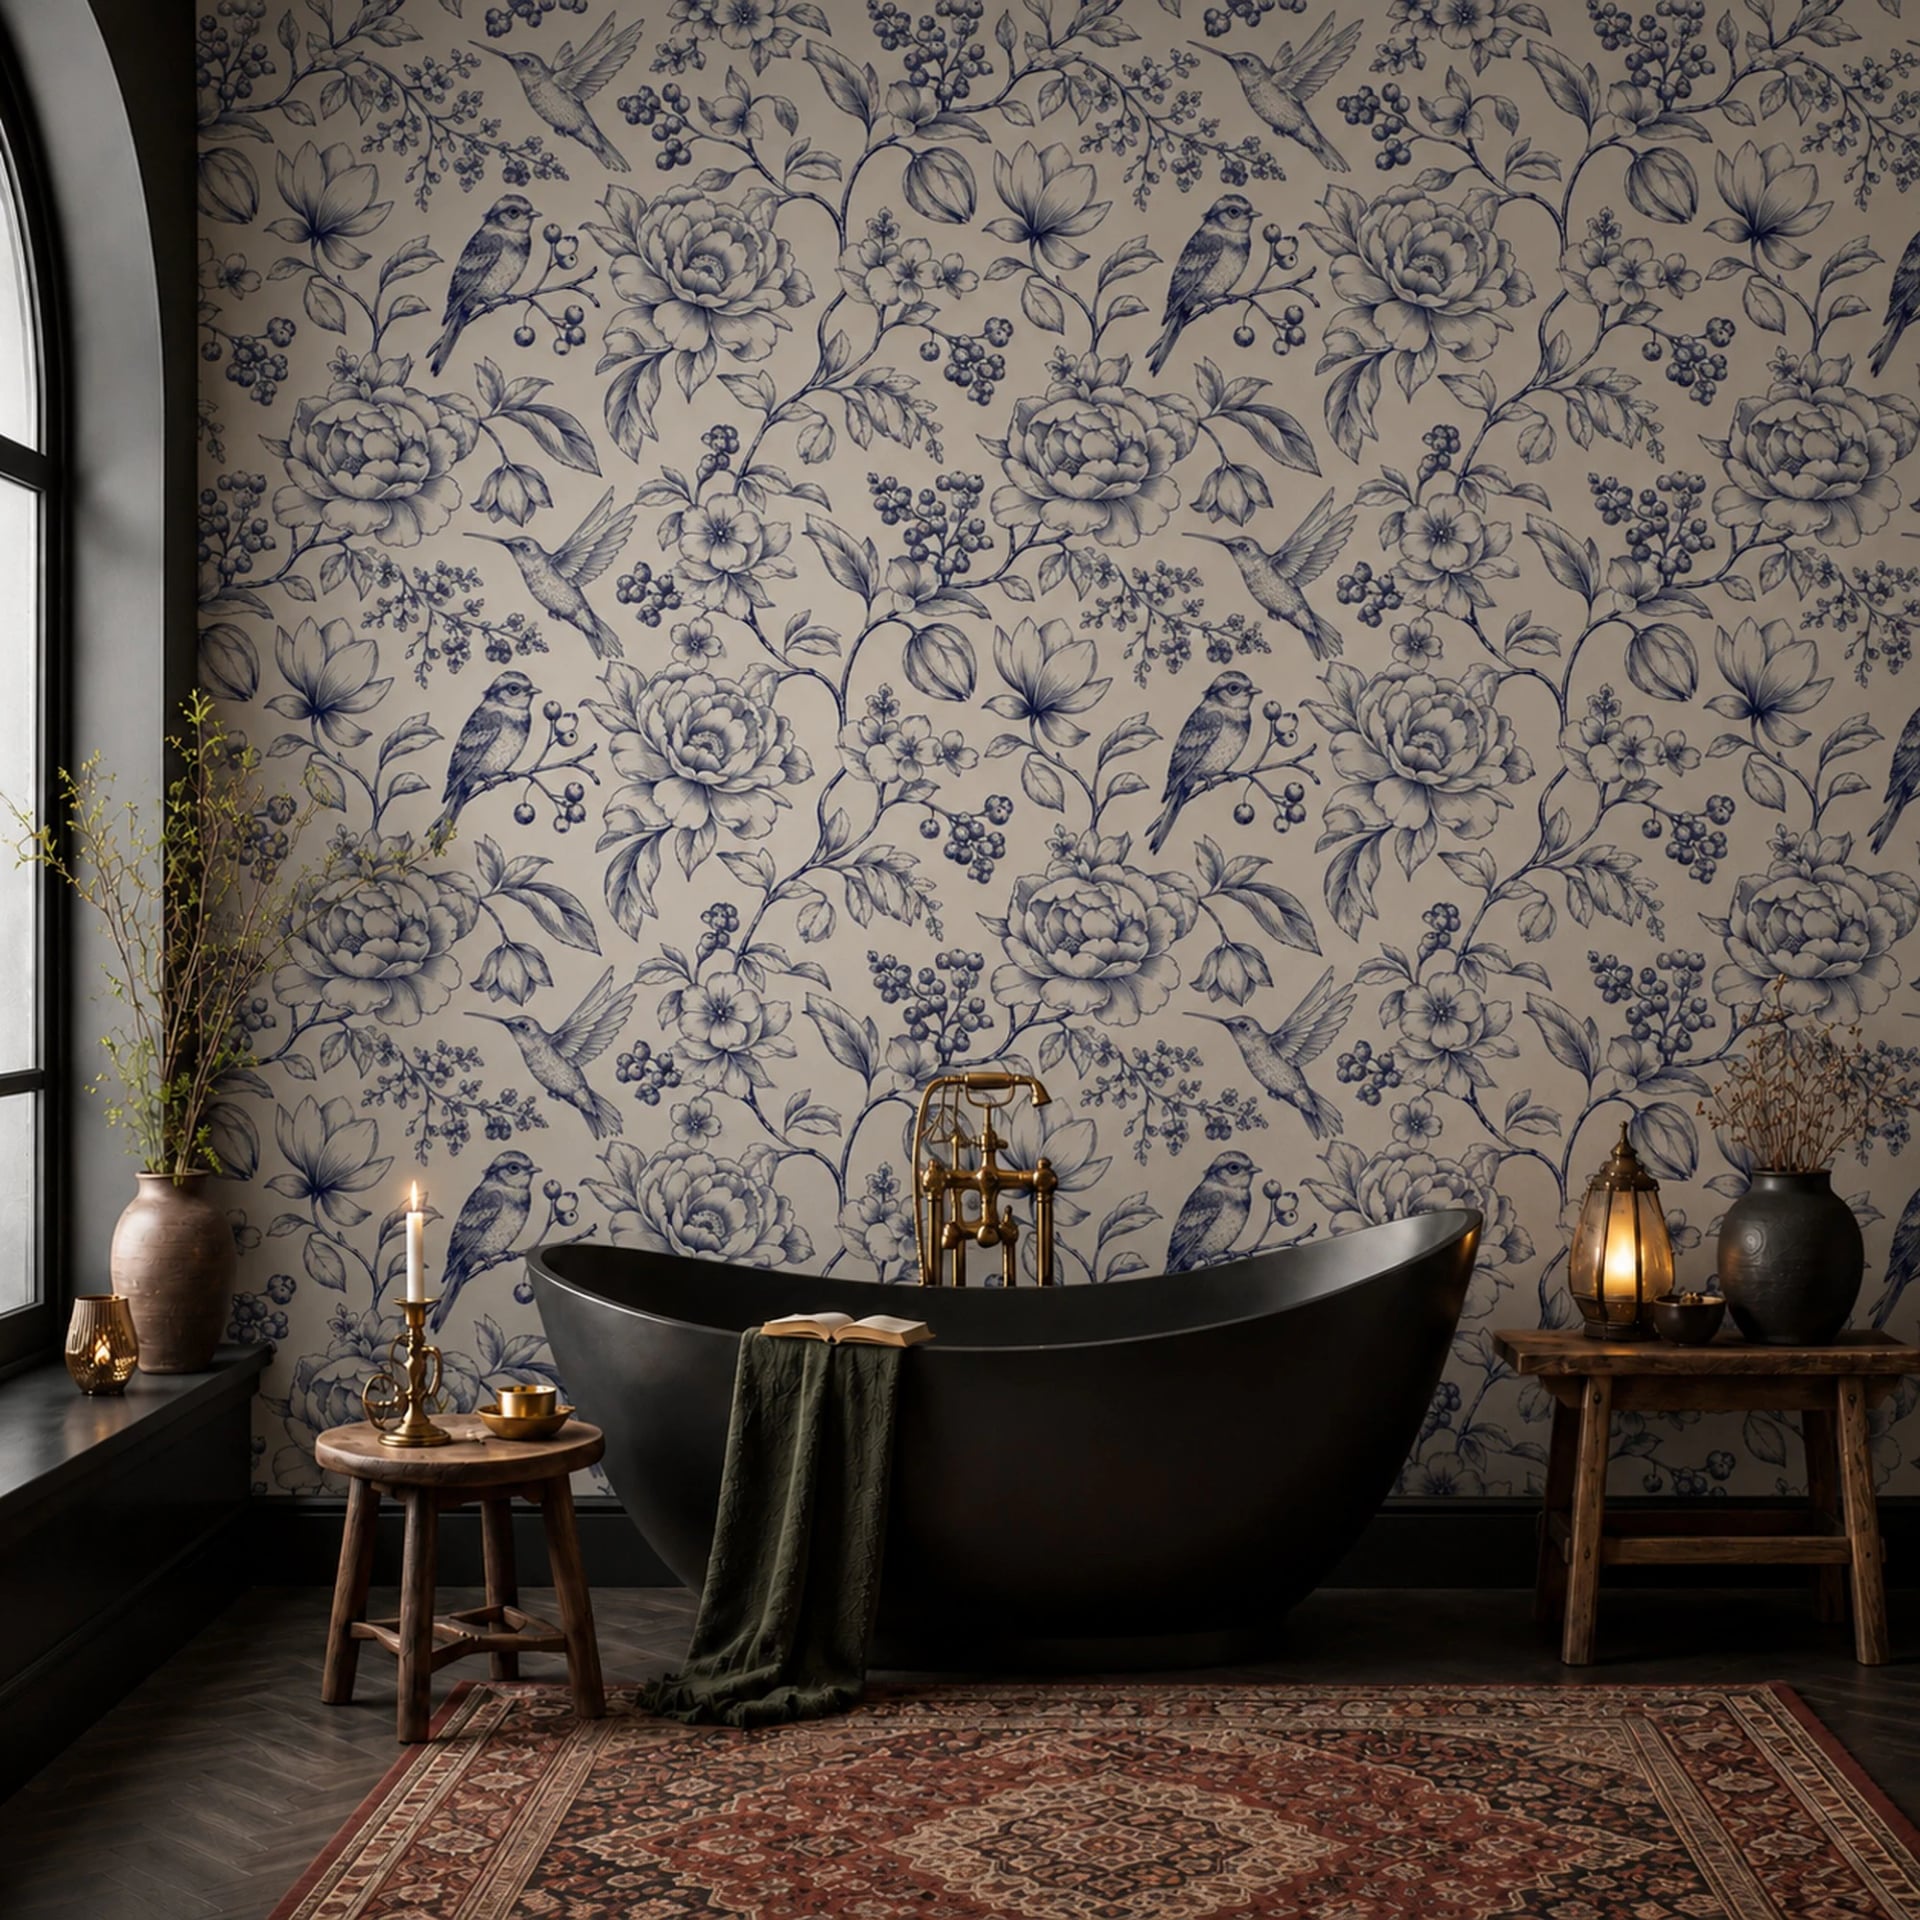
A made-to-measure mural is printed once, for your wall, at the size you type into the configurator. That is the whole advantage, and it is also the reason the ten minutes you spend with a tape measure matter more than any other decision in the order. Get the two numbers right and the panels line up against the ceiling with a little to trim. Get them wrong and no amount of care during the install will rescue it.
Here is the method we give everyone who emails us before ordering.
You need exactly two numbers
Width and height of the finished wall. That is it. Not the area, not the ceiling height from the building plans, not the size of the old wallpaper you are replacing. The wall as it stands today, floor to ceiling and corner to corner.
Everything else, the trim allowance, the panel count, the way the artwork is cropped to your ratio, is worked out from those two numbers on our side.
Measure the width in three places
Walls are not rectangles. They are four roughly straight lines that a builder got close enough on, and the difference between the top and the bottom of a twelve-foot wall is routinely half an inch.
So measure the width three times:
- along the floor, at the baseboard
- at about waist height
- as close to the ceiling as your ladder allows
Write all three down. Use the largest one. This is the single most important rule in the whole process. If the wall is wider at the top than at the bottom and you order the bottom measurement, the top corners will be short, and short is not fixable. Extra material at the bottom is fixable in ten seconds with a blade.
Measure the height the same way
Three measurements again: at the left edge, in the middle, and at the right edge. Floors settle, ceilings sag, and a room that looks level almost never is.
Keep the largest number again.
If you are hanging down to a baseboard, measure to the top of the baseboard, not to the floor. If you plan to remove the baseboard and put it back over the paper, measure to the floor. Decide before you measure, not after the tube arrives.
Do not add anything
This is where careful people cost themselves money. Every panel is printed with a trim allowance on each edge, free, before it leaves the printer. Your panels arrive slightly larger than the wall in both directions and you cut the surplus away with a blade against a taping knife once they are up.
If you add your own margin on top of ours, you pay for material you are going to throw away, and on a scenic design you can push the focal point off center. Enter the true wall size and let the allowance do its job.
Ignore doors and windows
Measure the full rectangle of the wall as though the opening were not there. Order that size. Cut the opening out after the panels are hanging.
It feels wasteful, and it is the correct answer every time. A mural is one continuous image, and the part of it that crosses above a door is what makes your eye read it as a scene rather than as wallpaper with a hole in it. Cutting around an opening before you hang means aligning two separate pieces to a shape, in the air, with adhesive already active. It does not go well.
Awkward walls
Sloped ceilings. Order the full rectangle that contains the slope, using the tallest point as your height. Hang the panels, then trim the angle in place with a straight edge. Mark the line lightly in pencil on the paper first.
Stairwells. Same idea. Highest point, widest point, order the rectangle, trim in place. This is the one job where a helper is genuinely required rather than merely useful.
Two walls that meet at a corner. Order them as two separate murals with their own measurements. Ordering one very wide mural and cutting it at the corner yourself sounds efficient and almost never lines up, because the corner is not plumb. If you want the scene to continue around the corner as one image, tell us both wall sizes in the order notes and we will set the crops so it does.
Ceilings. Treated exactly like a wall. Measure in three places each way, keep the largest, and accept that you will want two people and a scaffold board.
Check your work before you order
Two quick sanity checks:
- Multiply width by height in feet. Does the square footage look roughly like the wall in front of you? A ten by eight foot wall is 80 square feet. If your arithmetic says 800, you have mixed inches and feet somewhere.
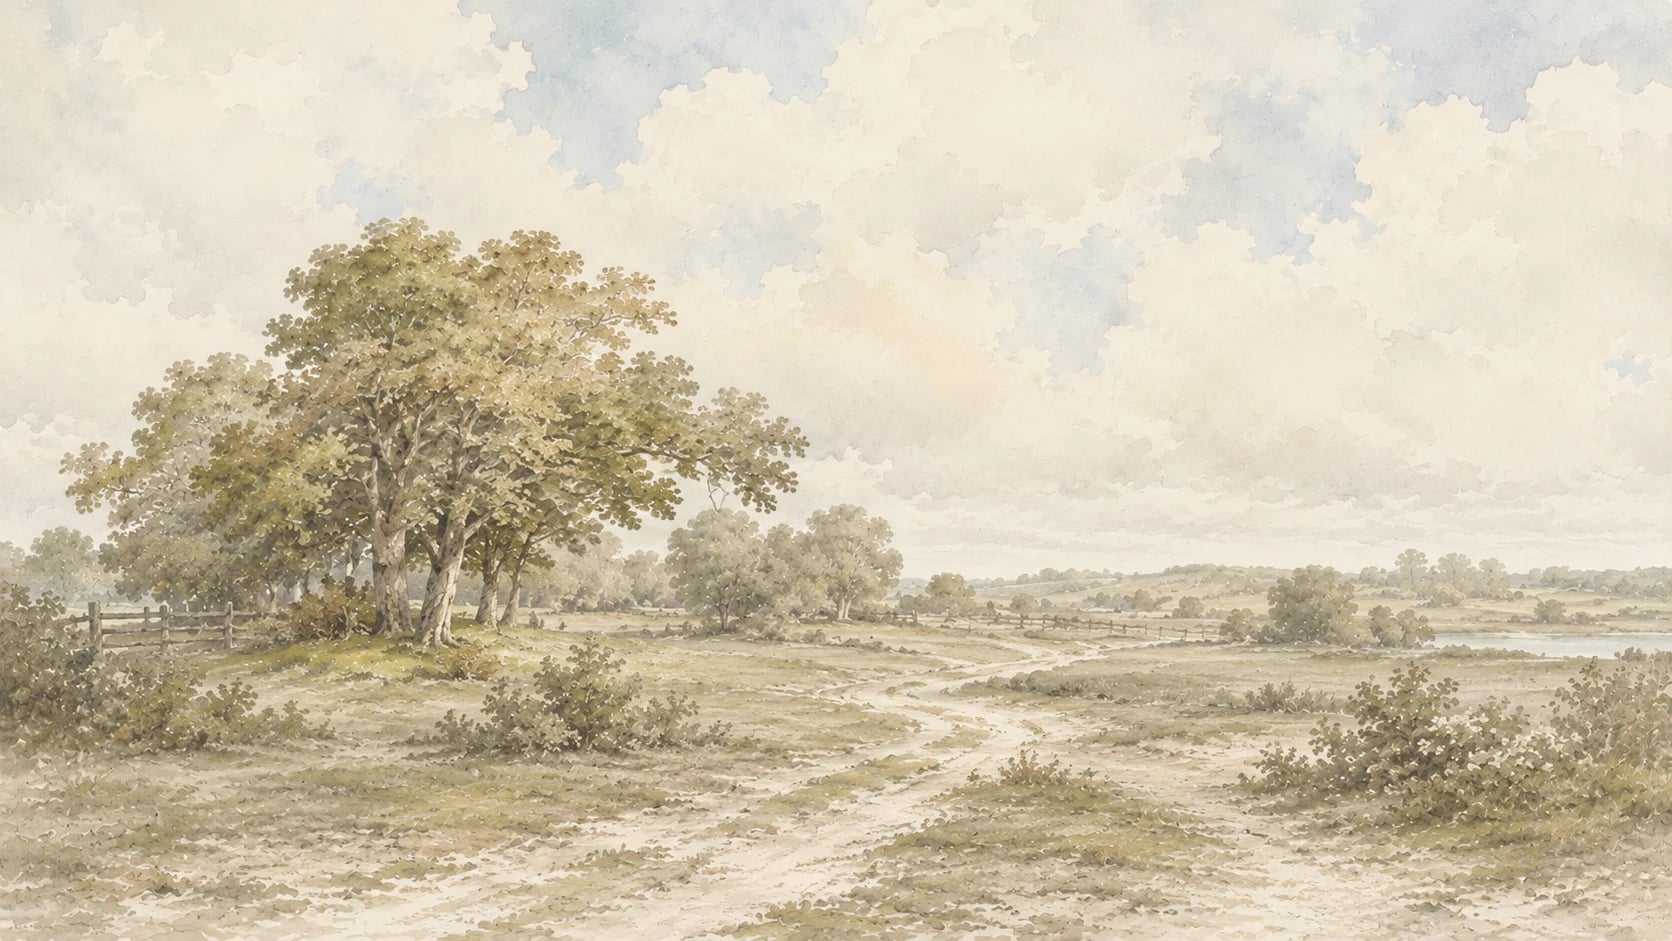
- Look at the preview in the configurator. It shows the actual crop of the artwork at your ratio. If something you care about, a horizon line, a bird, the edge of a leaf, is falling somewhere strange, adjust the frame there rather than hoping it works out.
When to just ask
Send us a photo and the numbers if you are dealing with a curved wall, a chimney breast, a wall with a lot of shallow returns, or anything where you find yourself drawing a diagram to explain it. We read every message and we would much rather spend five minutes on a measurement question than reprint a mural.