
Installation guide
Your mural arrives as numbered vertical panels in a tube, with a layout sheet and, for paste materials, enough adhesive for the area you ordered. Hanging it is a half-day job for one careful person on a standard wall, and an easier one with two. Read this once before you open anything.
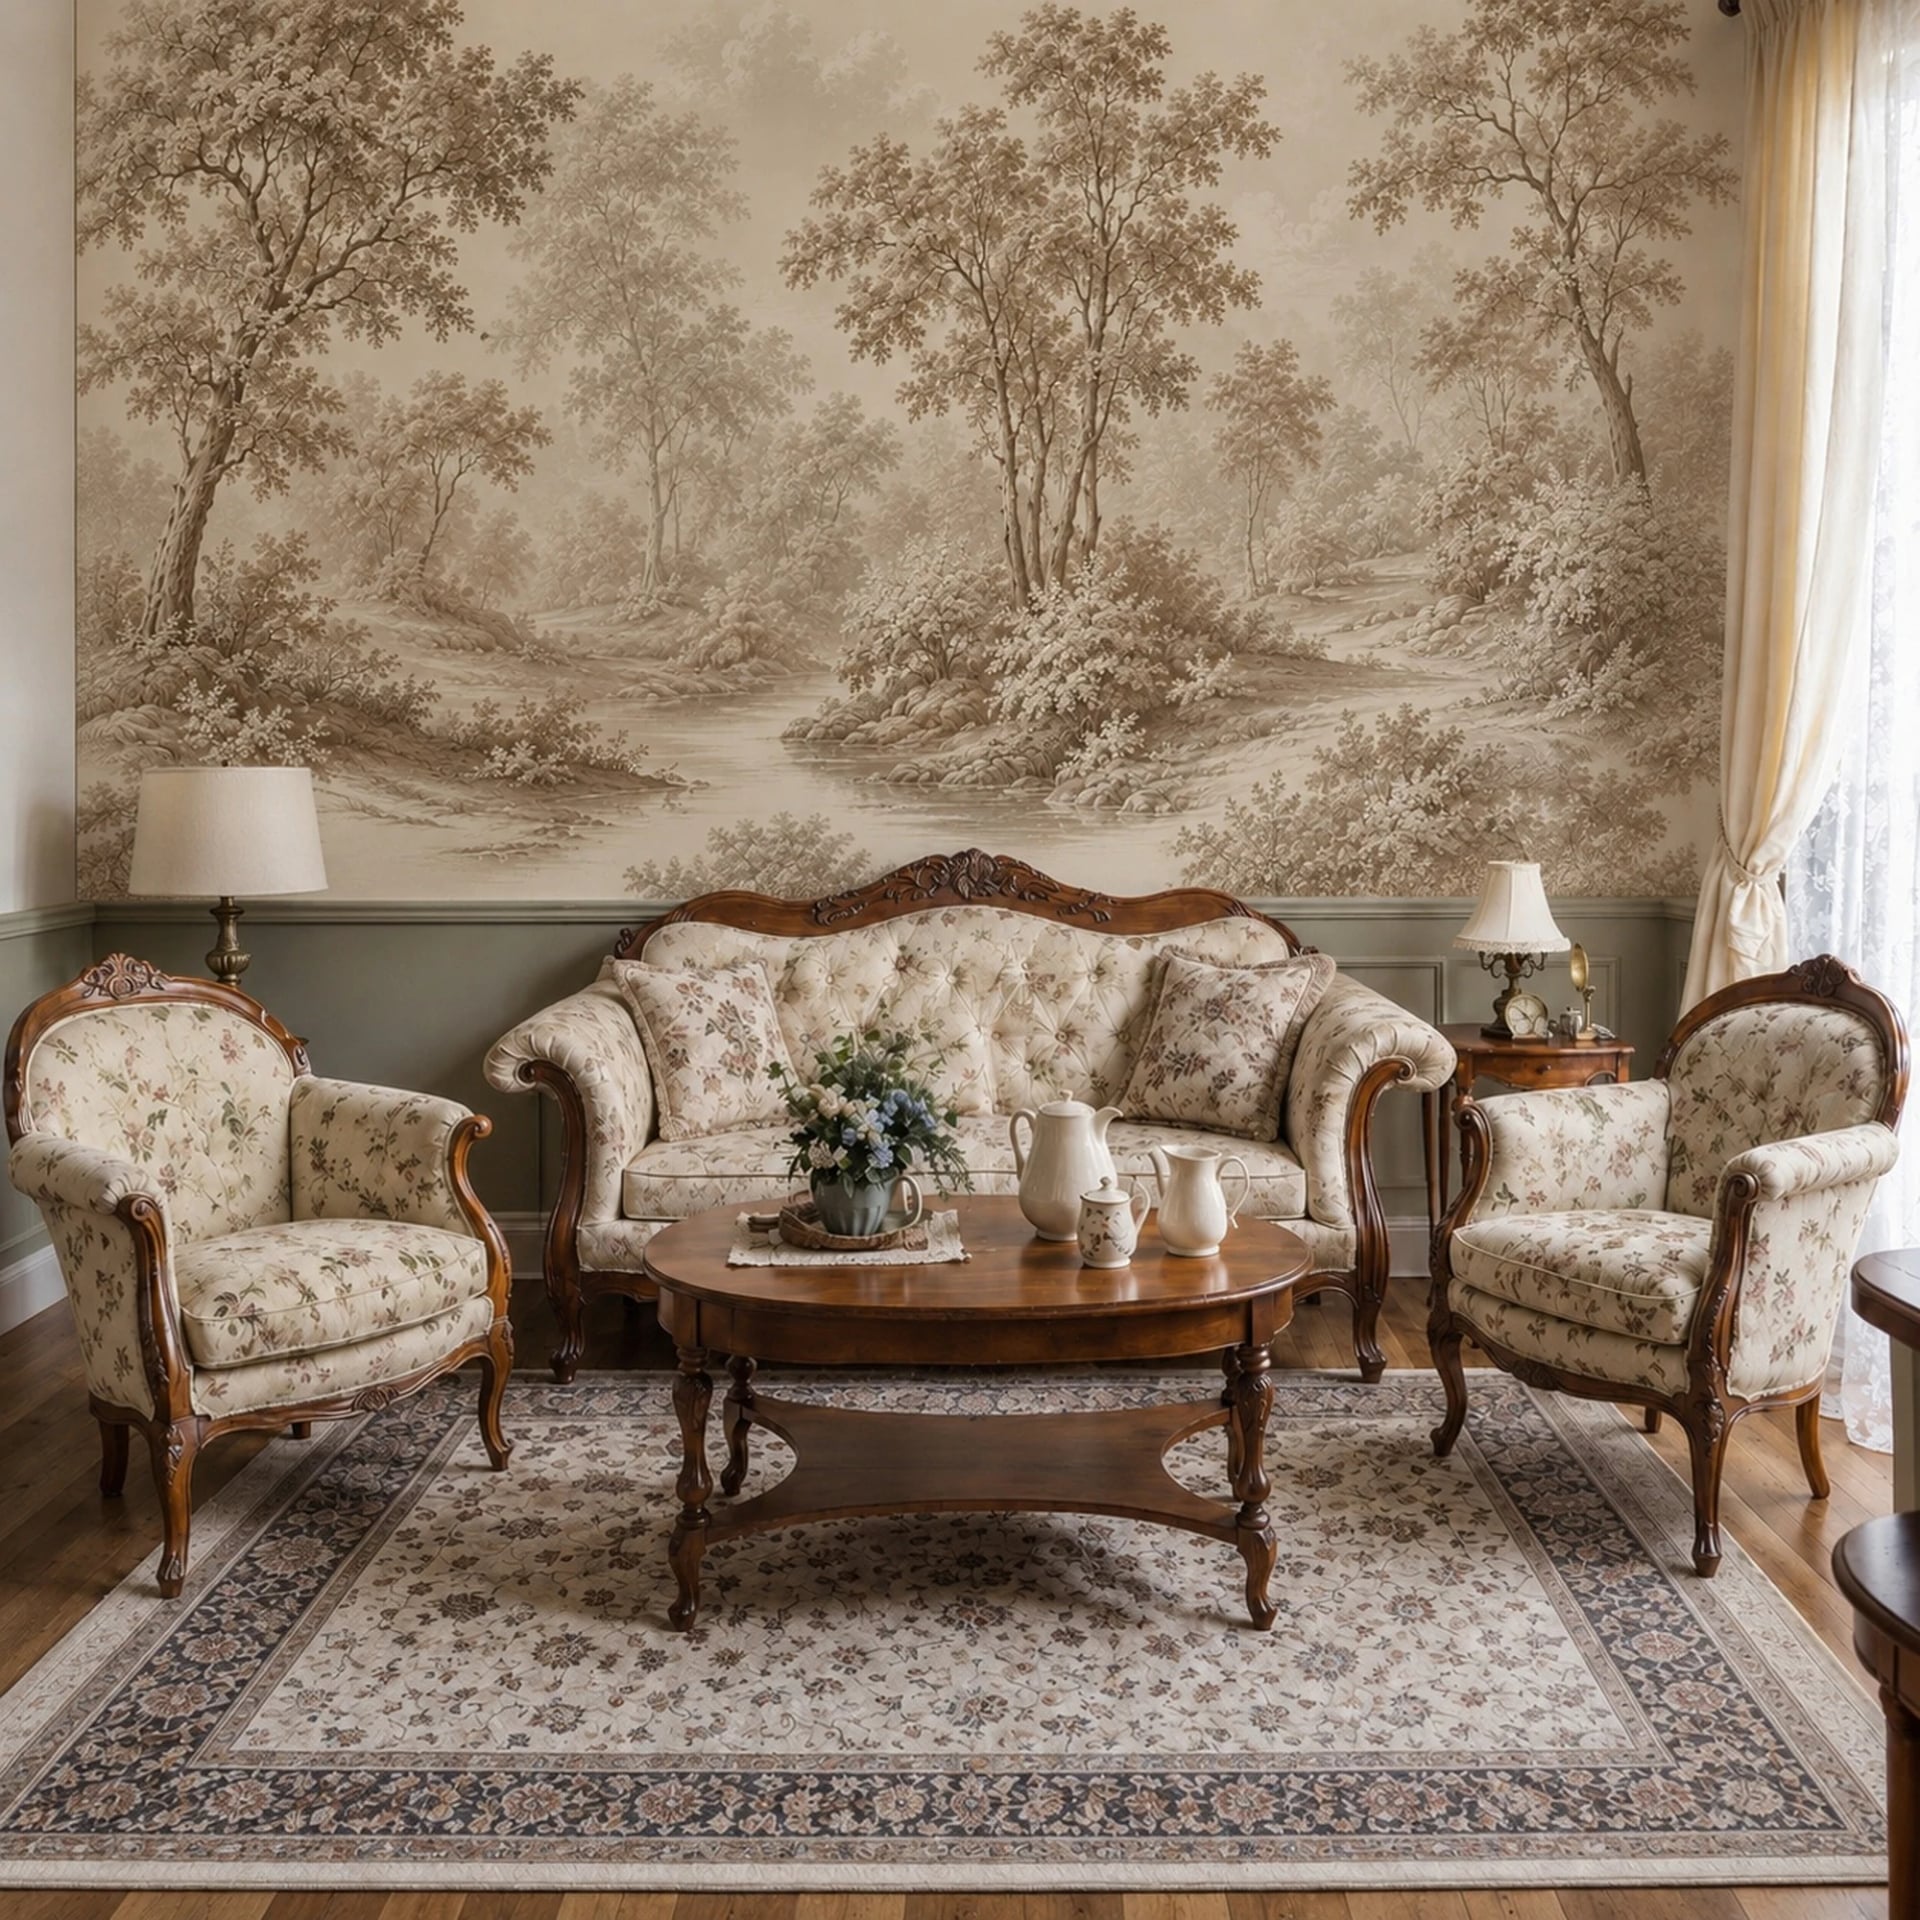
First: is the wall suitable?
More failed installs come from the wall than from the technique. Check this list before anything else.
Do not hang on:
- bare, unprimed drywall
- paint less than three weeks old, which is dry but not cured
- satin, semi-gloss, non-stick or scrub-resistant paint
- existing wallpaper
- brick, raw wood, unsealed plaster or masonry
- flaking, chalky or previously water-damaged paint
- any wall with damp or mold
The ideal wall is primed, painted with a cured matte or eggshell finish, clean, dry and smooth.
If the wall has texture, the fix is the material, not the method. Use Textured or Premium Textile; none of the self-adhesive materials will hold or look right on a grain.
Quick test: shine a phone light flat along the wall. Shadows mean texture.
Tools and wall prep
Tools
- Tape measure and pencil
- Level, or a laser line
- Sharp utility knife plus spare blades
- Wide taping knife, used as a cutting guide
- Smoothing tool or plastic squeegee
- Clean sponge and a bucket of clean water
- Step ladder
- Drop cloth
For paste installs, add a paint roller and tray and a second bucket for mixing.
Prep
- Turn off the power at the breaker and remove switch plates and outlet covers.
- Fill and sand any holes, and sand back any flaking paint.
- Wipe the wall with clean water only. No detergent, no sugar soap, no residue.
- Let it dry completely. In a humid room this takes longer than you think.
- Lay the drop cloth and clear enough floor to lay a full panel flat.
Draw your line
Measure one panel width out from your starting corner, minus half an inch, and draw a plumb vertical line with a level or laser. Your first panel follows that line, not the corner. Corners are not plumb, and a first panel hung to a corner puts every panel after it out of true.
Check the panels before you hang anything
Unroll the panels on a clean floor and lay them out in number order.
- Confirm the panel count matches the layout sheet.
- Check the print on each one for creases, scuffs and color shifts.
- Check that the design continues correctly from panel to panel.
If a panel is defective, do not hang it. Photograph it and email us with your order number. We reprint at no cost, but only for panels that are still on the floor. Once a panel is on the wall we cannot replace it, because a hung panel cannot be inspected for the fault.
Let the panels relax flat for twenty minutes before you start. Paper that has been in a tube wants to curl.
Hanging Peel & Stick
No water, no paste. Work top down, one panel at a time, and keep your hands clean.
Peel back the top 12 inches
Fold the liner back on itself at the top of panel 1, leaving the rest attached. Do not remove the whole liner; a full-length panel with no liner will stick to itself.
Align the top edge
Hang the top edge against your plumb line with an inch of surplus above the ceiling line. Press only the top two inches at first so you can still lift it.
Check, then commit
Step back and confirm the panel follows the line. Lift and reposition now if it does not. Once you are happy, press the top section down firmly with the smoothing tool.
Work downward in bands
Pull the liner down another 12 inches and smooth from the center outward with the squeegee, top to bottom. Smoothing from the center pushes air to the edges rather than trapping it.
Hang panel 2 edge to edge
Butt the next panel against the first with no overlap and no gap. The design is cut to meet exactly. Repeat for every panel in number order.
Deal with bubbles
Small bubbles usually work out to the nearest edge with the squeegee. For one that will not move, pierce it with a pin at a shallow angle and press the air out. Do not slit it with a blade.
Hanging paste-the-wall
The paste goes on the wall, never on the paper. Non-Woven does not expand with moisture, so there is no soaking time and no shrinkage at the seams.
Mix the paste according to the instructions on the pack, stir it thoroughly, and let it stand for ten minutes before use. Mix only what you will use within a couple of hours.
Paste one panel width of wall
Roll adhesive evenly over an area slightly wider than one panel, from ceiling to baseboard. Get right into the corners and edges with a brush. Do not paste the whole wall at once; it will skin over.
Hang panel 1 to the line
Lift the dry panel into place with an inch of surplus above the ceiling line and align its edge to your plumb line. The panel will slide on wet paste for a minute or two, which is the forgiveness you want.
Smooth from the center out
Work from the center of the panel outward and downward with the smoothing tool, pushing air and excess paste toward the edges. Keep a damp sponge to hand.
Wipe paste off the face immediately
Any adhesive that reaches the printed surface must be wiped off with a clean damp sponge straight away, before it dries. Rinse the sponge often so you are not spreading paste around.
Paste the next section and butt the seam
Paste the next panel width, hang panel 2 with its edge butted tight to panel 1, and check the design lines up across the seam. No overlap.
Let it dry undisturbed
Keep the room at a normal temperature with gentle ventilation for 48 hours. Do not put heaters, fans or air conditioning directly on the wall; forced drying is the most common cause of a lifted seam.
Trimming, corners and openings
Trimming
Hold the wide taping knife hard into the corner where the wall meets the ceiling or baseboard, and cut along its edge with a sharp blade. Change the blade every few cuts. A dull blade tears paper instead of cutting it, and the tear is not repairable.
For paste material, trim while it is still slightly damp. It cuts cleanly then and it toughens as it dries.
Internal corners
Never wrap a full panel around an internal corner. Trim the panel about half an inch past the corner, then start the next wall with a fresh plumb line and let it overlap that half inch.
External corners
Wrap about an inch around an external corner, press it down hard, and start the next panel on the new face against a fresh plumb line.
Outlets and switches
Hang straight over them with the power off. Once the panel is up, feel for the opening, cut a shallow X from corner to corner, trim back to the box, and refit the plate over the paper.
Doors and windows
Hang the panel over the opening, then cut a diagonal into the corner of the frame, press the paper into the edge and trim along it with the taping knife.
Care, cleaning and removal
Living with it
Give a paste install 48 hours before you hang anything on the wall or push furniture back against it.
Cleaning
Dust with a dry microfiber cloth or a vacuum brush attachment. For a mark, use a soft cloth barely dampened with water, blot rather than scrub, and dry the spot straight away. Premium Textile is a fabric: vacuum it on a low setting and keep water off it entirely.
Never use bleach, solvents, abrasive pads, magic erasers or steam on any material, and keep water away from the seams.
Removing it later
Peel & Stick: warm a bottom corner with a hairdryer for ten or fifteen seconds, lift it, and pull downward at a shallow angle with your hand close to the wall. If a section resists, warm it again rather than pulling harder.
Paste-the-wall non-woven: lift a bottom corner with a thin blade and pull the panel downward in one steady motion. It comes away dry, usually as a single sheet. No scoring, no soaking, no steamer. Wipe any adhesive film off with a sponge and clean water.
Both leave sound, cured, primed paint intact.
Common questions
Skip bare drywall, raw wood, brick, heavy texture, existing wallpaper, flaking paint and anything with damp or mold. Paint that is less than three weeks old is still curing and will pull away with the paper. Non-stick, satin and scrub-resistant paints also give adhesive very little to hold onto. A primed, cured, matte or eggshell wall is the ideal surface for every material we sell.
Wipe the wall with clean water and let it dry fully, with no detergent or sugar soap left behind. Fill and sand any holes, remove switch plates and outlet covers, and lay a drop cloth. Then draw a plumb vertical line one panel width from your starting corner with a level or laser. That line, not the corner, is what your first panel follows.
A tape measure, a level or laser line, a pencil, a sharp utility knife with spare blades, a wide taping knife as a cutting guide, a smoothing tool or plastic squeegee, a clean sponge and a step ladder. Paste installs add a roller and tray for the adhesive and a bucket. Change the blade often, since a dull blade tears paper rather than cutting it.
One careful person can hang a standard wall, but two make it much faster and much straighter. The second pair of hands holds the top of the panel against the line while the first smooths downward, which is where most alignment errors happen. For ceilings, stairwells or anything over about ten feet tall, treat a helper as required rather than optional.
Dust it with a dry microfiber cloth or a vacuum brush attachment. For a mark, use a soft cloth barely dampened with water, blot rather than scrub, and dry the spot right away. Premium Textile has a fabric face and should be vacuumed only. Avoid bleach, solvents, abrasive pads and steam on every material, and keep water away from the seams.
Peel and stick lifts off dry: warm a corner gently with a hairdryer, then pull slowly downward at a shallow angle against the wall. Paste-the-wall non-woven strips off dry in full panels from a bottom corner, with no scoring or soaking. Both leave sound, primed paint intact in normal conditions. Work slowly and re-warm rather than yanking if a section resists.
Last updated September 1, 2026.